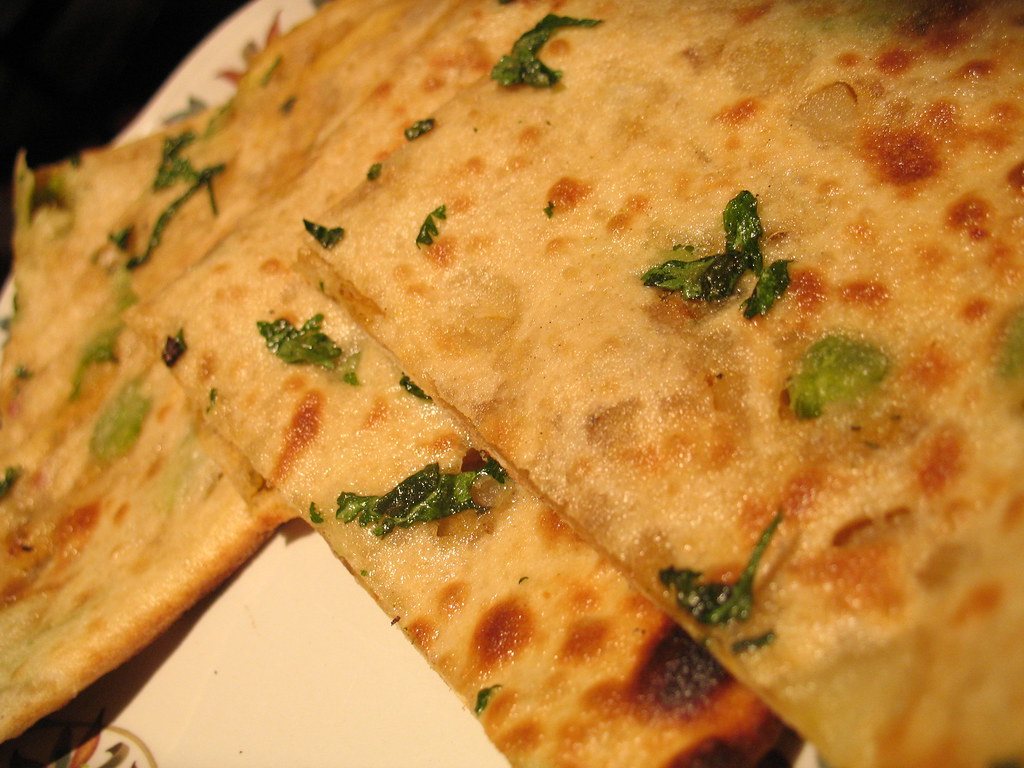
This layered paratha recipe turns plain atta dough into a flaky, golden bread with crisp edges and soft, pull-apart layers inside. It is the paratha you get at a good dhaba alongside chai: buttery, slightly chewy and satisfying enough to be a meal on its own.
The secret is not complicated technique but a smart fold. By spreading ghee over thin dough, pleating it and coiling it up, you build dozens of separate sheets that puff and separate as they cook. A short rest between steps keeps the dough relaxed, so it rolls out easily without the layers squashing together.
What Makes This Paratha Special
Many home parathas end up tough or greasy. This version avoids both problems with a soft dough, controlled amounts of ghee and medium heat that crisps the outside while cooking the inside through. It works with ordinary chakki atta from any Pakistani or Indian grocer, and once you learn the pleat-and-coil method, you can make a stack for the whole family in about half an hour of active work.
It is also adaptable. Serve it with omelette for breakfast, with qeema for lunch or with a simple daal at dinner. The same dough is the foundation for stuffed parathas, so it is a skill worth practising.
Choosing Your Ingredients
- Chakki atta: Stone-ground whole wheat flour gives flavour and a soft texture. Finely milled atta rolls more easily than coarse flour.
- A little maida: Adding some plain flour gives a bit more stretch, which helps the layers stay distinct. You can use all atta if you prefer.
- Desi ghee: The most flavourful choice and the classic one. Butter works well, and a neutral oil makes a lighter, crisper paratha with less richness.
- Dry flour between layers: A light sprinkle stops the ghee-coated sheets from fusing, which is what keeps them flaky.
- Sugar: Optional, but a teaspoon helps the paratha brown evenly without tasting sweet.
Layered Paratha Recipe: Flaky, Crisp Homemade Lachha Paratha
Pakistani · Breakfast · Medium
Ingredients
- 300 g chakki atta (whole wheat flour), about 2 1/2 cups
- 50 g plain flour (maida), about 1/3 cup
- 1 tsp salt
- 1 tsp sugar (optional, helps browning)
- 1 tbsp ghee or oil, for the dough
- About 210 ml lukewarm water (just under 1 cup), as needed
- 6 tbsp ghee or butter, softened, for layering and frying
- 2 tbsp dry flour, for sprinkling between layers
Method
- Mix the atta, maida, salt and sugar in a bowl, rub in 1 tbsp ghee, then add water gradually and knead into a soft, smooth dough for 5 minutes.
- Cover and rest the dough for at least 30 minutes.
- Divide into 6 balls. Roll one ball into a thin circle about 20 cm across.
- Spread 1 tsp softened ghee over the surface and sprinkle with a pinch of dry flour.
- Pleat the circle like a paper fan, or cut a slit from centre to edge and roll into a cone, then coil the pleated strip into a spiral and tuck the end underneath.
- Rest the coils for 10 minutes, then gently roll each into a 15 to 18 cm paratha.
- Cook on a hot tawa over medium heat for 1 minute, flip, then add ghee and fry each side, pressing with a spatula, until golden and crisp, about 3 to 4 minutes in total.
- Remove and lightly crush the hot paratha between your palms to open up the layers. Serve hot.
How to Build the Layers
Kneading a Soft Dough
Add water a little at a time; flours absorb different amounts. You want a dough that is soft and smooth, like an earlobe, not sticky and not stiff. Knead for about five minutes, then cover it. The thirty-minute rest is important. It relaxes the gluten so you can roll the dough thin without it shrinking back.
Rolling Thin and Spreading Ghee
Roll each ball into a thin circle, thin enough that you can almost see the counter through it. Spread softened ghee right to the edges and dust lightly with dry flour. Thin dough means more layers, so take your time here.
Pleating and Coiling
There are two easy methods. For the fan method, pleat the circle back and forth like a paper fan, stretch the pleated strip gently, then coil it into a spiral like a snail shell. For the cone method, cut a slit from the centre to the edge, roll the dough around itself into a cone and press the cone down from the top. Both give excellent layers; the fan method gives the classic lachha look.
The Second Rest and Final Roll
Let the coils sit for ten minutes. This step is easy to skip but it makes the final rolling far easier. Roll gently with light pressure, from the centre outward, to about 15 to 18 cm. Pressing hard will seal the layers together.
Cooking on the Tawa
Heat the tawa over medium heat. Cook the paratha dry for about a minute until small bubbles form, then flip. Spread ghee on top, flip again and press the edges with a spatula so they crisp. Repeat on the other side. The paratha is ready when both sides have golden-brown spots and the edges are crisp. Straight off the heat, scrunch it gently between your palms (or with two spatulas) to open the layers.
Tips for Flaky Parathas
- Medium heat is best. Too hot and the outside burns before the inner layers cook; too low and the paratha turns hard.
- Use softened, not melted, ghee for layering. It stays put and creates cleaner layers.
- Keep dough balls covered while you work so they do not form a dry skin.
- Stack cooked parathas in a cloth-lined basket to keep them soft.
- If your parathas are chewy, the dough may be too stiff. Add a little more water next time.
Variations
Once you are comfortable with this layered paratha recipe, try sprinkling ajwain (carom seeds) or crushed dried fenugreek over the ghee before pleating for a fragrant twist. A mint paratha uses dried mint and a pinch of chaat masala between the layers, a favourite with grilled meats. For a sweet breakfast treat, sprinkle sugar and a little cardamom over the ghee and serve with tea. If you need a lighter everyday version, use oil and brush only lightly when frying.
Serving Ideas
For a classic Pakistani breakfast, serve paratha with a fried egg or masala omelette, a bowl of yogurt and a cup of doodh patti chai. It is equally good with aloo bhujia, chana, qeema, chicken karahi or seekh kebabs. Leftover parathas can be rolled around kebab, chutney and onions for a quick paratha roll.
Storage and Freezing
Cooked parathas keep at room temperature, wrapped in foil, for a day, or in the fridge for up to three days. Reheat on a hot tawa for a minute per side to restore the crispness.
For freezer-friendly parathas, half-cook them: cook each side for about thirty seconds without ghee, cool completely, then stack with baking paper between each one and freeze in a sealed bag for up to two months. Cook from frozen on a medium-hot tawa with ghee, adding a minute or two to the time.
Paratha Questions Answered
Why are my parathas hard?
A stiff dough, too little rest or cooking on low heat for too long can all make parathas hard. Keep the dough soft and cook over medium heat.
Can I use oil instead of ghee?
Yes. Any neutral oil works for both layering and frying. The paratha will be slightly less rich but still flaky.
Can I make the dough ahead?
Kneaded dough keeps in a covered container in the fridge for up to two days. Bring it to room temperature before rolling.
Is this layered paratha recipe the same as lachha paratha?
Essentially yes. Lachha paratha refers to the many thin, ring-like layers created by the pleating and coiling method used here.
With a little practice, this layered paratha recipe becomes second nature, and the reward is a stack of crisp, buttery bread that makes any breakfast feel special.